Try Jamboarding an Interactive Notebook
Google announced plans to discontinue Jamboard at the end of 2024. See Kathie’s follow-up article on Jamboard alternatives.
By Kathleen Palmieri

My students demonstrate ease and engagement in responding to and navigating the board, as well as using the digital tools such as the text, sticky note, pen, and eraser.
As a class, we grew from using one screen of a Jamboard for an interactive “KWL” to using multiple screens for small group sharing.
Discovering that each Jamboard has up to 20 screens, I wanted to find a way to take advantage of this added feature. I looked at various sources, including Google for Education, and decided I could use my Jamboard screens to create an interactive digital notebook.
Interactive Notebook Jam
I have used Google Slides for digital notebooks, finding them easy to create and student friendly. Comparing Google Slides to Google Jamboard, there are similarities and differences that need to be considered.
Both apps offer ways to provide feedback and receive responses from students. Where Google Slides offers a comment box with a response feature for students, Jamboard offers the use of the digital sticky note and pen.
Both resources also provide multiple slides or screens, but Jamboard only offers 20 screens per board where Google Slides is unlimited. Both resources allow students to upload images. Google Slides uses text boxes or the ability to upload templates with text boxes inserted for students to type into (“Type text here”). Jamboard can use a template, but as a background where students can use its digital tools (pen, text, or sticky notes) to respond or make annotations.
Considering that I usually don’t start off with more than 20 slides, and that I can later add to any digital notebook I create, I decided to create an interactive digital notebook using a Jamboard.
The advantage of using both Slides and Jamboard in that these two Google resources can work together in the digital notebook creation process.
Getting Started
First I go to jamboard.google.com where I can see all of my previous Jamboards. Down in the lower right corner is a plus sign to click on to create a new Jam. Once done, a blank Jamboard will open, ready for a background.
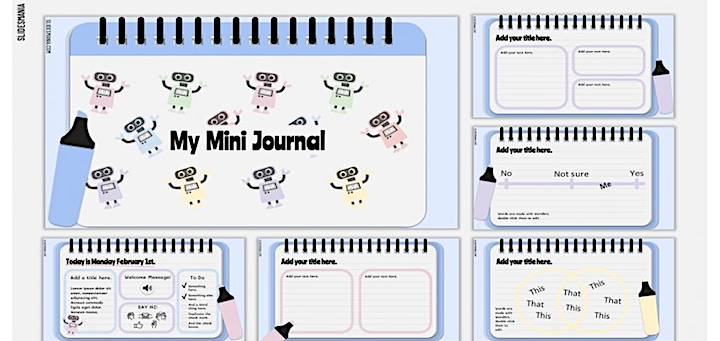
I use the same template I found at slidesmania.com that I had used in my previous Google Slides notebook. At this site you will find helpful videos and free templates that are stated to be used for Google Slides and PowerPoint – but can also be downloaded and used as a background in a Jamboard.
Once on the Slidesmania site, choose the “Education” tab at the top of the page and then select “notebook style” from the menu. At this point, choose the style of notebook you want to use, and decide how you want to incorporate the template into your Jam.
This is where Google Slides can be useful for creating your Jamboard backgrounds. You can either download the template or “Open Portrait Version in Google Slides.” I suggest using the Google Slides option, and once clicked you’ll get a screen with a button, “Use Template.”
Click and the template will then be opened in a Google Slide deck. I make a copy of this slide deck to edit, keeping the original template intact. Also, I find that opening the template into Google Slides provides the opportunity to make edits to each slide to fit your purpose and make the digital notebook just right for your class. Ensure that you’ve made all edits prior to downloading because no changes can be made once you put it in Jamboard as a background.
Keeping a Master Copy
Before downloading slides, set up a folder on your computer to make it easier to work from when uploading for your Jamboard backgrounds. For each slide, go up to “File” and click on “download,” choosing PNG image or JPEG image.
I have learned from others that it is wise to have a teacher “Master Copy” as well as a “Student Copy” and name each Google Slide Deck accordingly. This allows you to later make changes, add new slides, and build a complete notebook for yourself to use in the future.
You can simply add any new slides you make to the “Student Copy” or you can post the new slides as “view only” and then teach your students how to download and add the image to their Jamboard slide backgrounds.
Uploading the template images into Jamboard is an easy process. Simply open your Jamboard, click on “Set background” and choose “image” to upload. At the top of your Jamboard screen you will see the screen numbers with an arrow to the right. Click on the arrow to add images to each screen.
Reaching the Finish Line
Once completed, read through your Jamboard to ensure all backgrounds are in the order you intended. Now you’ll be ready to assign this in Google Classroom, being sure to assign as “Make a copy for each student.” In my Google Classroom I have created the topic “Jamboards” and moved it to the top for ease of use. You can also simply assign without a topic to have it appear at the top of the page.
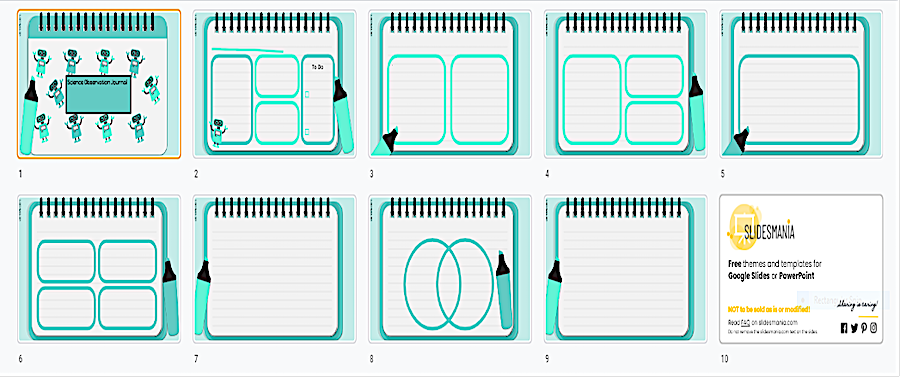
Journal Tip: On Slidesmania.com there is a template, “My Mini Journal Notebook for kids and background for Jamboard,” that I recently used as a science observation journal (see my step-by-step basic edits image above). I simply made edits to the slides, making sure to delete text boxes or “type here” notations, and then downloaded each as a PNG to upload as backgrounds on each of the Jamboard screens. Then I simply shared the completed Jamboard in my Google Classroom, making a copy for each student.

Kathleen Palmieri is a National Board Certified Teacher and NBCT Professional Learning facilitator. She is a fifth grade educator in upstate New York who reviews and writes regularly for MiddleWeb. With a passion for literacy and learning in the classroom, she participates in various writing workshops, curriculum writing endeavors, and math presentations. As a lifelong learner, she is an avid reader and researcher of educational practices and techniques. Collaborating with colleagues and globally on Twitter @Kathie042500 and expanding her education adventures at www.kathleenpalmieri.com are ongoing practices.
